 Back to docs
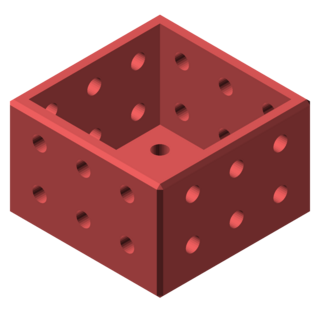 bin
bin
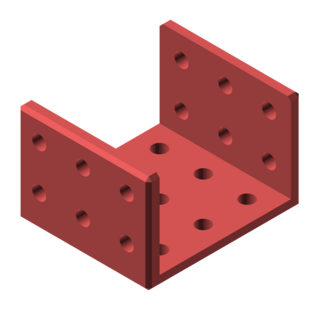 cee
cee
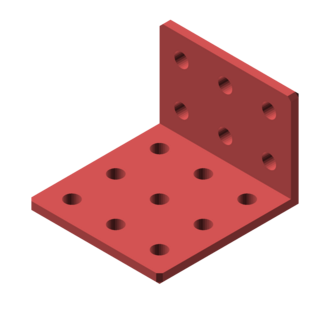 vee
vee
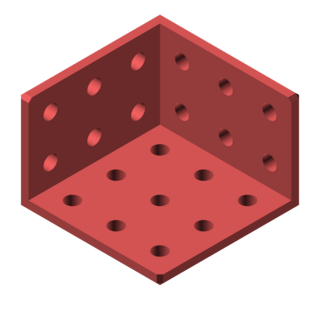 corner
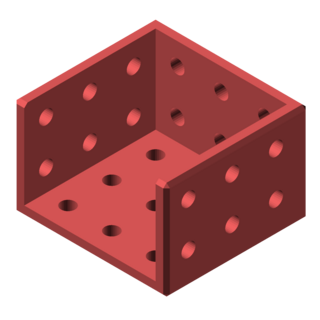 sofa
sofa
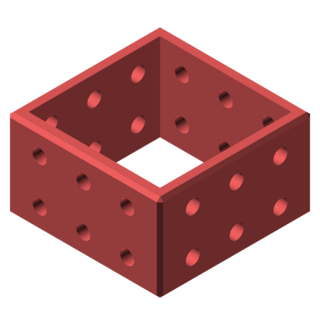 tube
tube
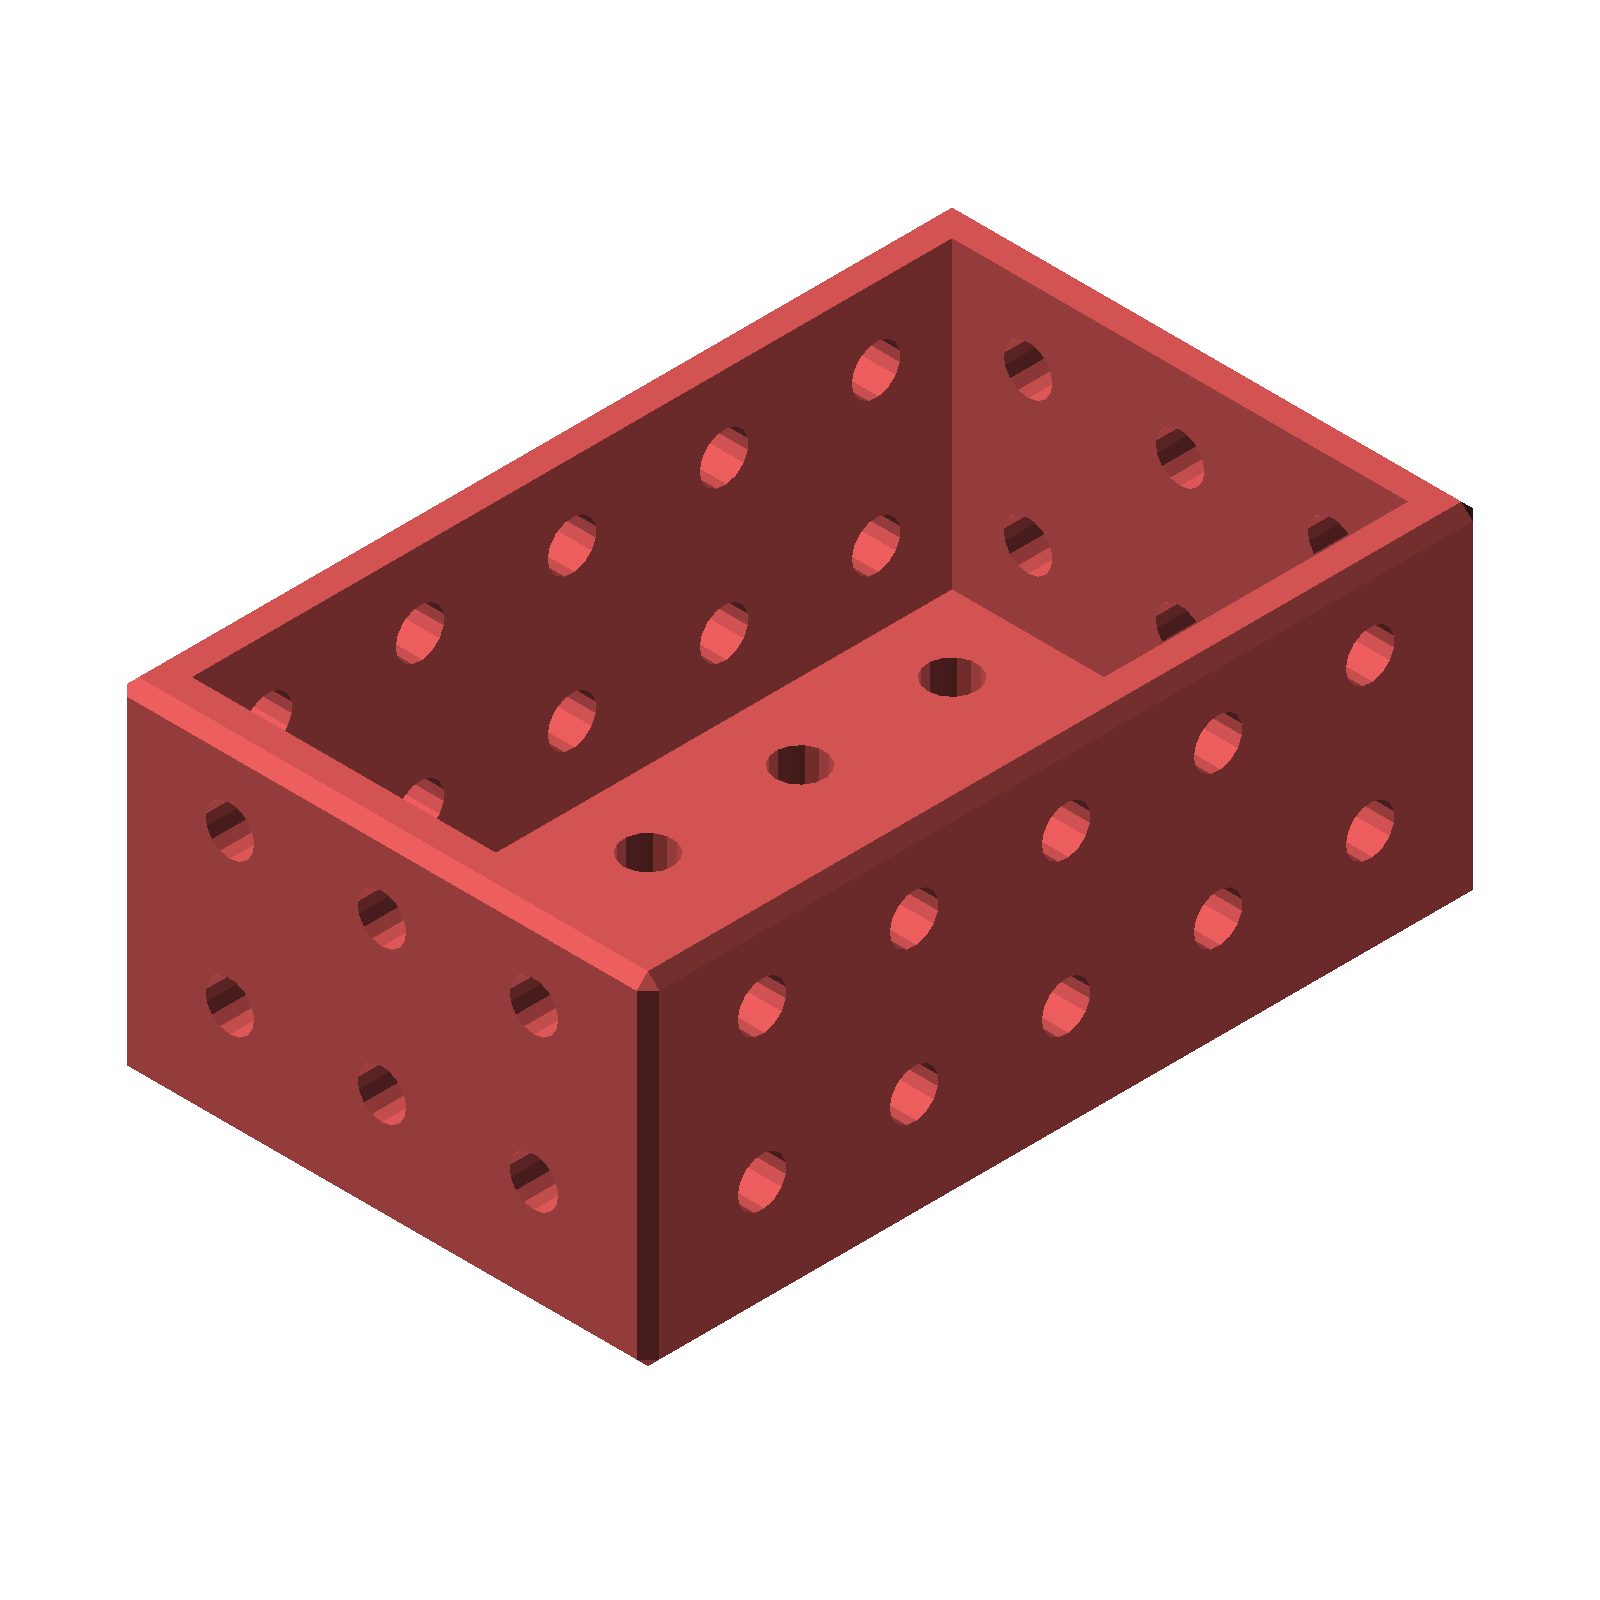
This is what is generated from bin(dimensions = [5, 3, 2]);.
Customizing shell parts with OpenSCAD parameters
The shell group has six parts: bin, cee, vee, corner, sofa, and tube. They all use the same set of parameters:
| dimensions | the nominal size as an ordered list of 1 cm units, of the form [i, j, k] where i is the number of units along the X direction, j in the Y direction, and k in the Z direction. |
| plate_thickness | wall thickness in mm (default 2.5). |
| chamfer_depth | edge chamfer in mm (default 0.75). |
| hole_diameter | mounting hole diameter in mm (default 3.2, sized for m3 screws). |
| hole_faces | the number of sides used for the round holes (default 20). Higher values give smoother holes but slower renders. |
| echo_parameters | when true (default), the OpenSCAD console echoes the full parameter list when you preview or render the module. |
If you leave a parameter out of the module call, that parameter will just have the default value. For example, these are all valid module calls:
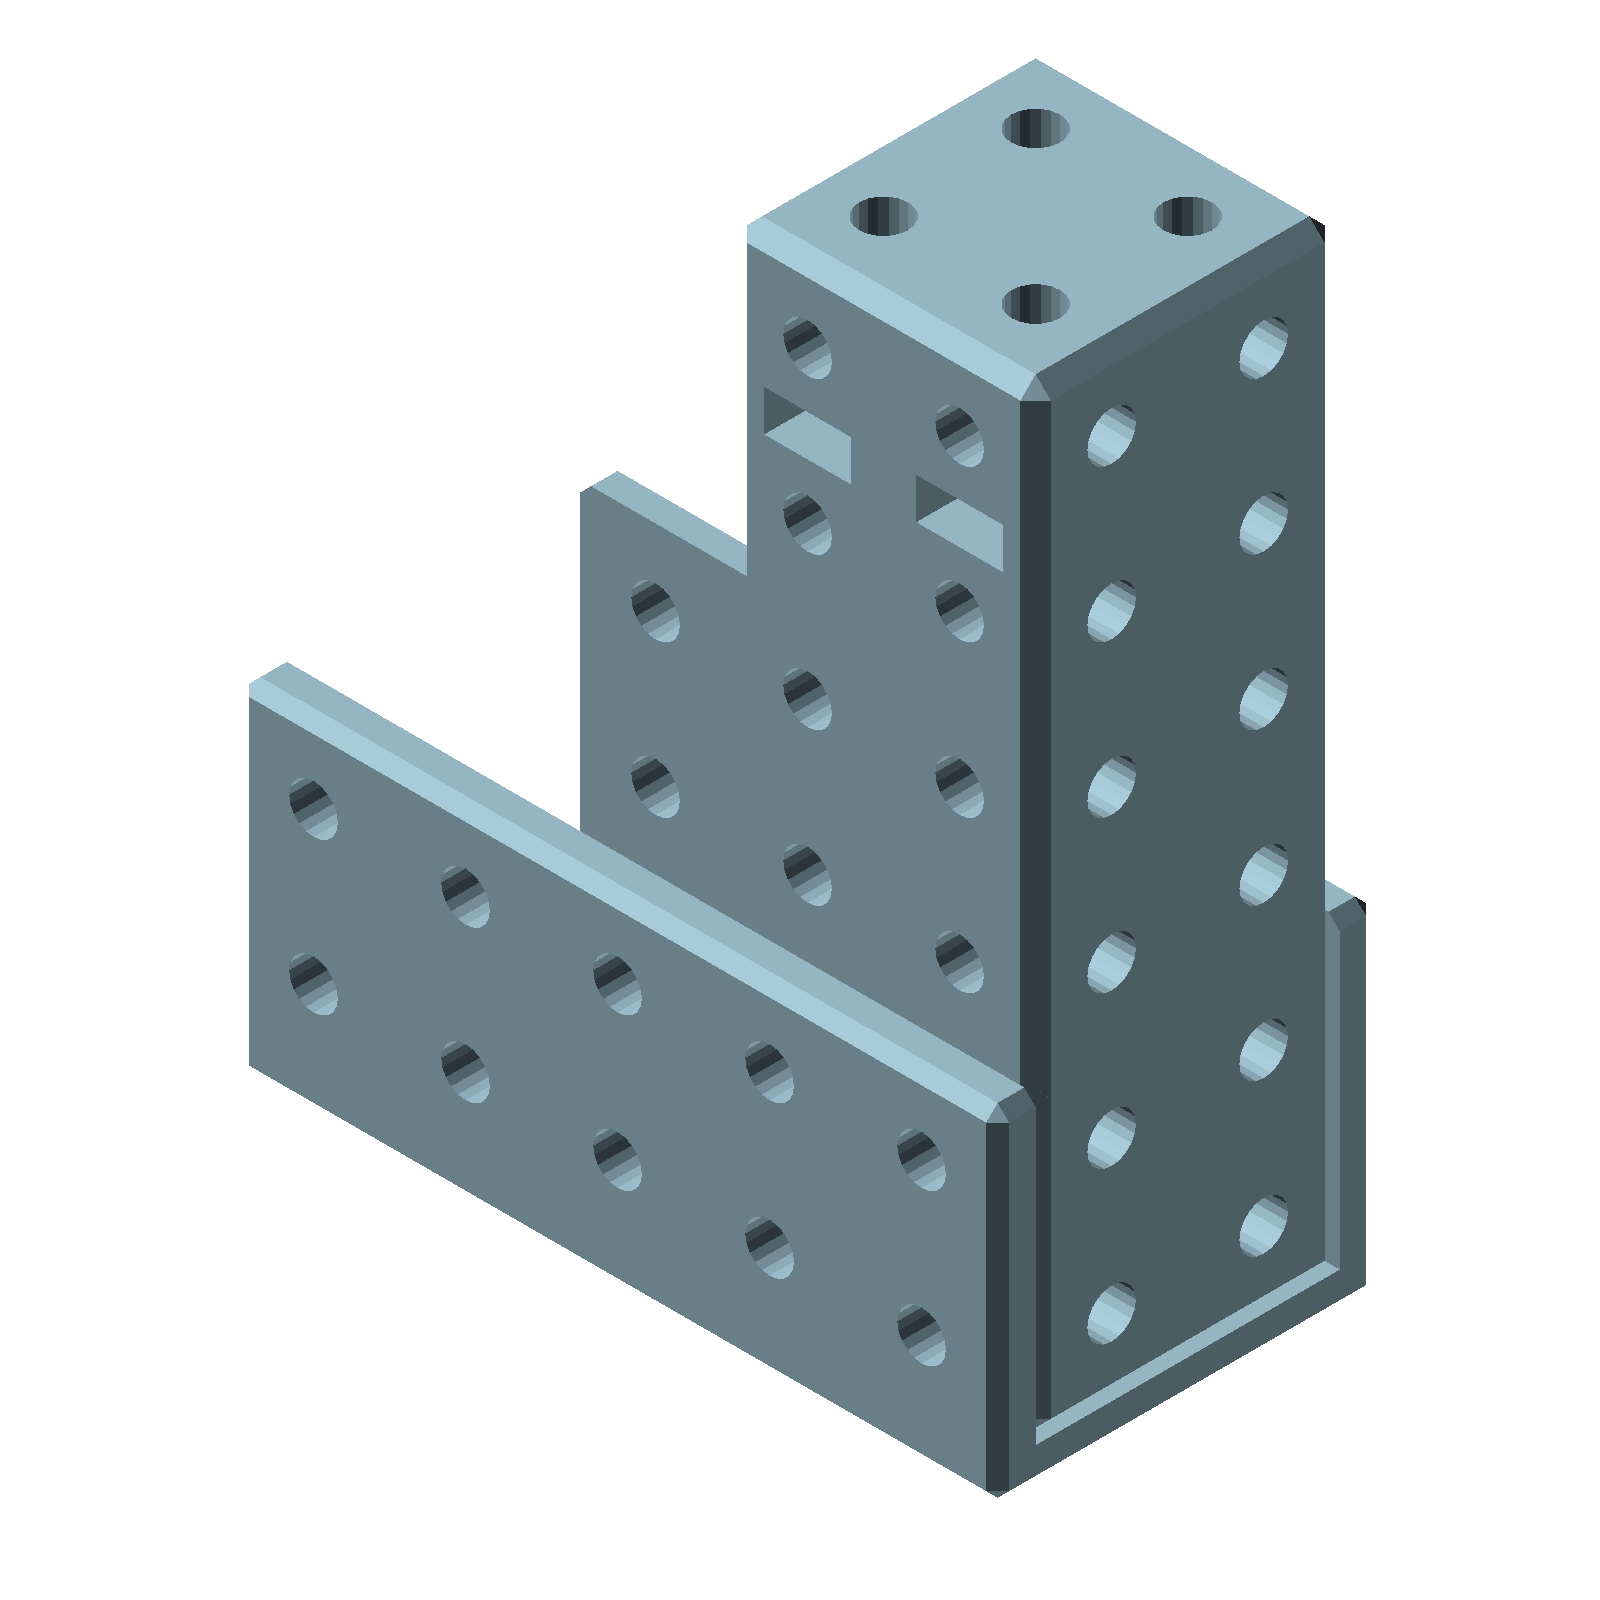
A block([6,2,2]);fits perfectly into a cee([2, 5, 2]);.
Using shell parts
Shell parts are shaped to fit perfectly around solid parts of the same nominal size. A 3×3×3 block part is exactly 3 cm by 3 cm by 3 cm — and a 3×3×3 bin, cee, or tube is sized so that block fits neatly inside it.
Because of this, a shell part's outer walls sit one plate_thickness outside the 1 cm grid. Keep that in mind when joining shells to other parts: the hole grids of shells joined together don't always maintain a global 1 cm grid the way solid parts do. Attach shell parts with m3 machine screws and m3 nuts.
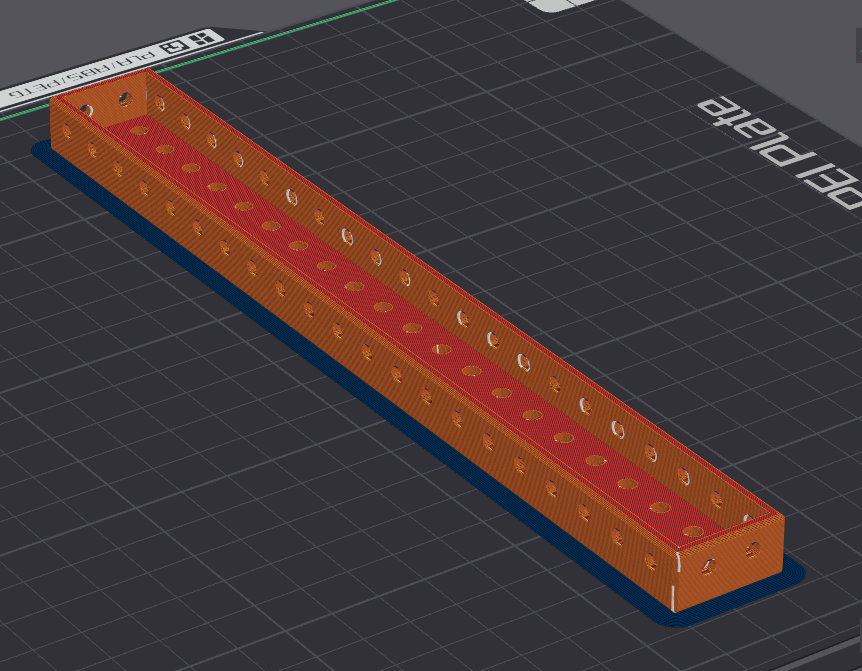
Adding a brim during print setup can help ensure proper bed adhesion.
Printing shell parts
Always ensure proper bed adhesion to prevent lifting and warping, especially with long parts. Use a textured build plate with a thin layer of glue stick. Wash off the glue every other print job. If needed, use a brim for extra adhesion.
Wait until the part has cooled completely before removing it from the print bed. Thin shell walls are flexible while warm, and prying a warm part off the bed will leave it permanently warped.